Next Level Networking with the Arduino
Arduino is a great platform to delve into the world of electronics and programming, but the rabbit hole of possibilities may go even deeper than you know! One of our members has taken Arduino to a whole new level by designing and fabricating their own custom Arduino board to take on a monster of a task.
This project was submitted by one of our members. You can see more of our member's projects here.
Not a member yet? Sign up here.
Before we get talking about the project, let’s take a moment to see just how an Arduino really functions.
If you take a closer look at your Arduino you’ll see plenty of chips, but there is one in particular that makes the magic happen; that is the ATmega and if you’re using an UNO it’s pretty hard to miss it.
You can strip away plenty of the on-board chips and create your own Arduino with just the ATmega and a handful of resistors and capacitors. Believe me, when your projects start to move past hobbyist aspirations and production costs start coming to mind, it pays to strip down the standard Arduino board and build something yourself.
This specific project began with the Arduino Leonardo and as you can imagine, they have taken off the ATmega and moved it onto their custom design.
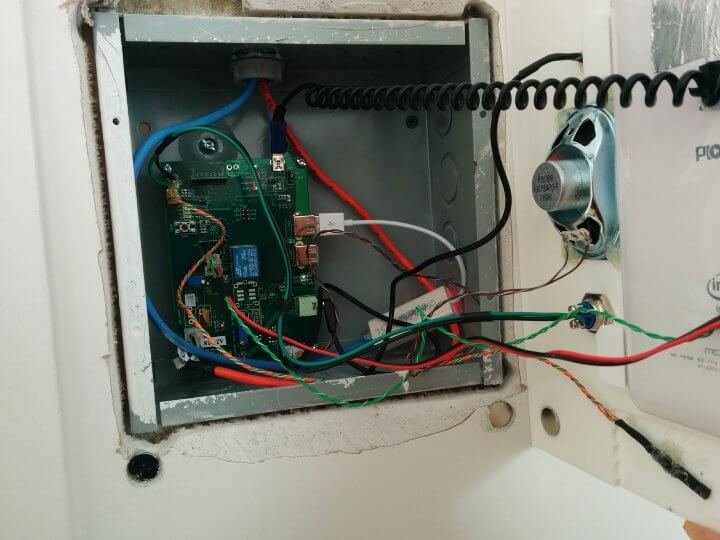
There is still quite a bit of complexity here and rightly so! The goal of this project was to create an intercom system with multiple stations across their building.
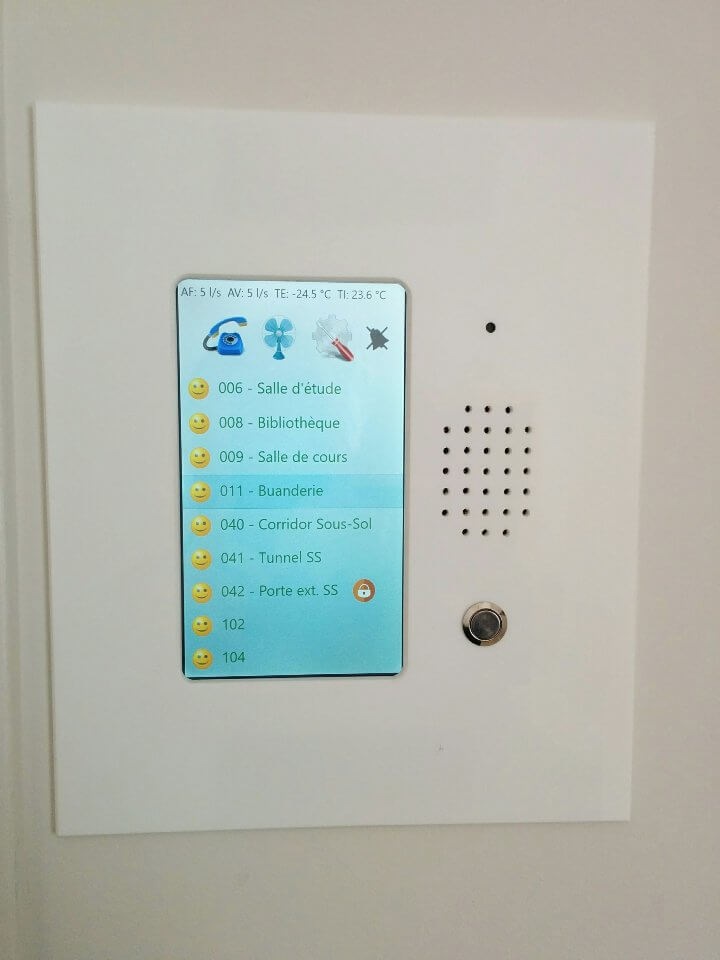
What they have managed to create is remarkable: a network of 30 intercom stations with plans to add 20 more down the line. If all of that isn’t enough, each Arduino controlled station is paired to a Windows 10 tablet which provides a crisp clean user interface. Once an intercom connection has been made, the audio data is transferred to the Ethernet network via a USB to RJ45 adapter connected to each intercom station.
So how exactly are the tasks separated here?
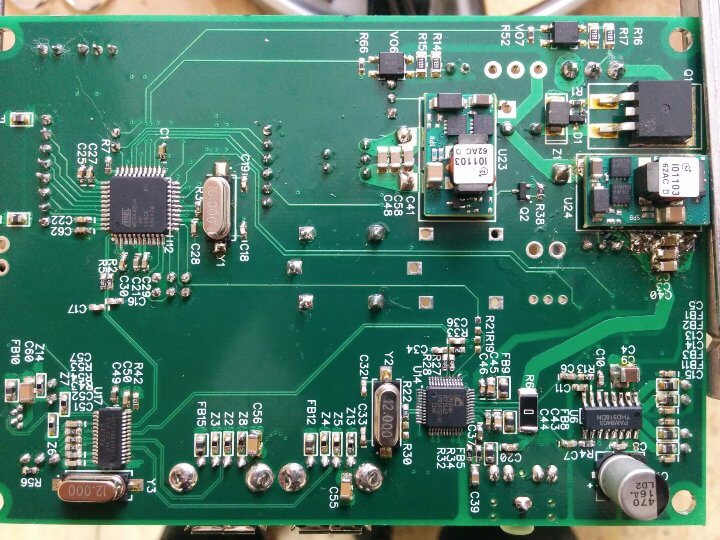
The custom Arduino does most of the heavy lifting, with two DC / DC power supplies, a class D audio amplifier, a CMEDIA USB audio chip, and a USB hub. Communicating between the tablet and the board is easily accomplished over serial with USB. On the tablet side of things, the HMI (Human Machine Interface) is programmed in C# and serial communication makes it easy to communicate between it and the Arduino.
The last hurdle is to manage the overall communication network. There are actually 13 separate PLCs throughout the building that handle the communication, networking galore!
Projects such as this one really showcase how far we can take the Arduino platform and help us see where hard work can take us. Any project of this size may come with unforeseen complications and with just a little bit of patience their project overcame them all!


Great job on the tutorial!