Arduino Weather Indicator :: Member Project
Want to build an Arduino weather indicator that can get forecasts from the internet? So did Gerolf, a member of Programming Electronics Academy, and that is exactly what he is doing.
Have you ever seen one of those old fashion weather indicators? Sometimes they show wind speed and direction, humidity, temperature, pressure, sometimes they even predict future weather conditions. Gerolf has put a modern spin on this classic idea.
We’ll let him explain it in more detail below, but essentially his device connects to the web, gets the local weather data, and displays it via LEDs all using a WIfi enabled Arduino compatible microcontroller! So at a quick glance he knows if it’s sunny, cloudy, or if there’s rain or not. Pretty cool!
Read below to learn more about his project…
Why build an Arduino weather indicator?
When I was young my grandparents had a mechanical weather forecaster that worked with the air humidity.
I remember how interesting it was as two figures would move out of a small wooden box which would indicate rain or sun. I wanted to make something similar, but also simple and modern.
This is Part 1 of my project. I quickly realized the the indication of weather states with single LEDs could be improved by usage of NEO-Pixel LEDs. That will be part 2 of this project!
What type of Arduino board does your project use?
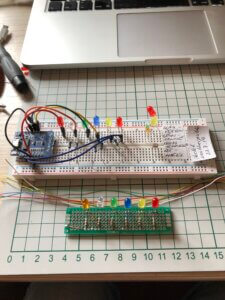
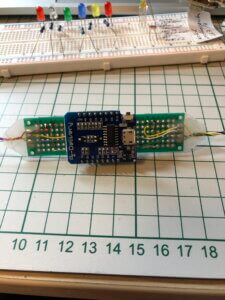
A Wemos D1 Mini. It’s basically an ESP8266, which is an Arduino compatible WiFi enabled microcontroller.
How does your Arduino weather indicator work?
It does the following…
- Connects to my local WiFi,
- Connects to openweathermap.org and uses my location and API key to get weather data. (If your interested, here is a list of some other weather APIs)
- It parses a Json document for the forecast and weather conditions.
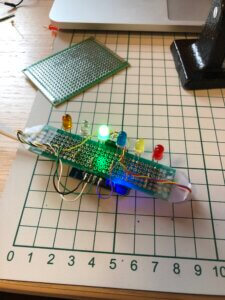
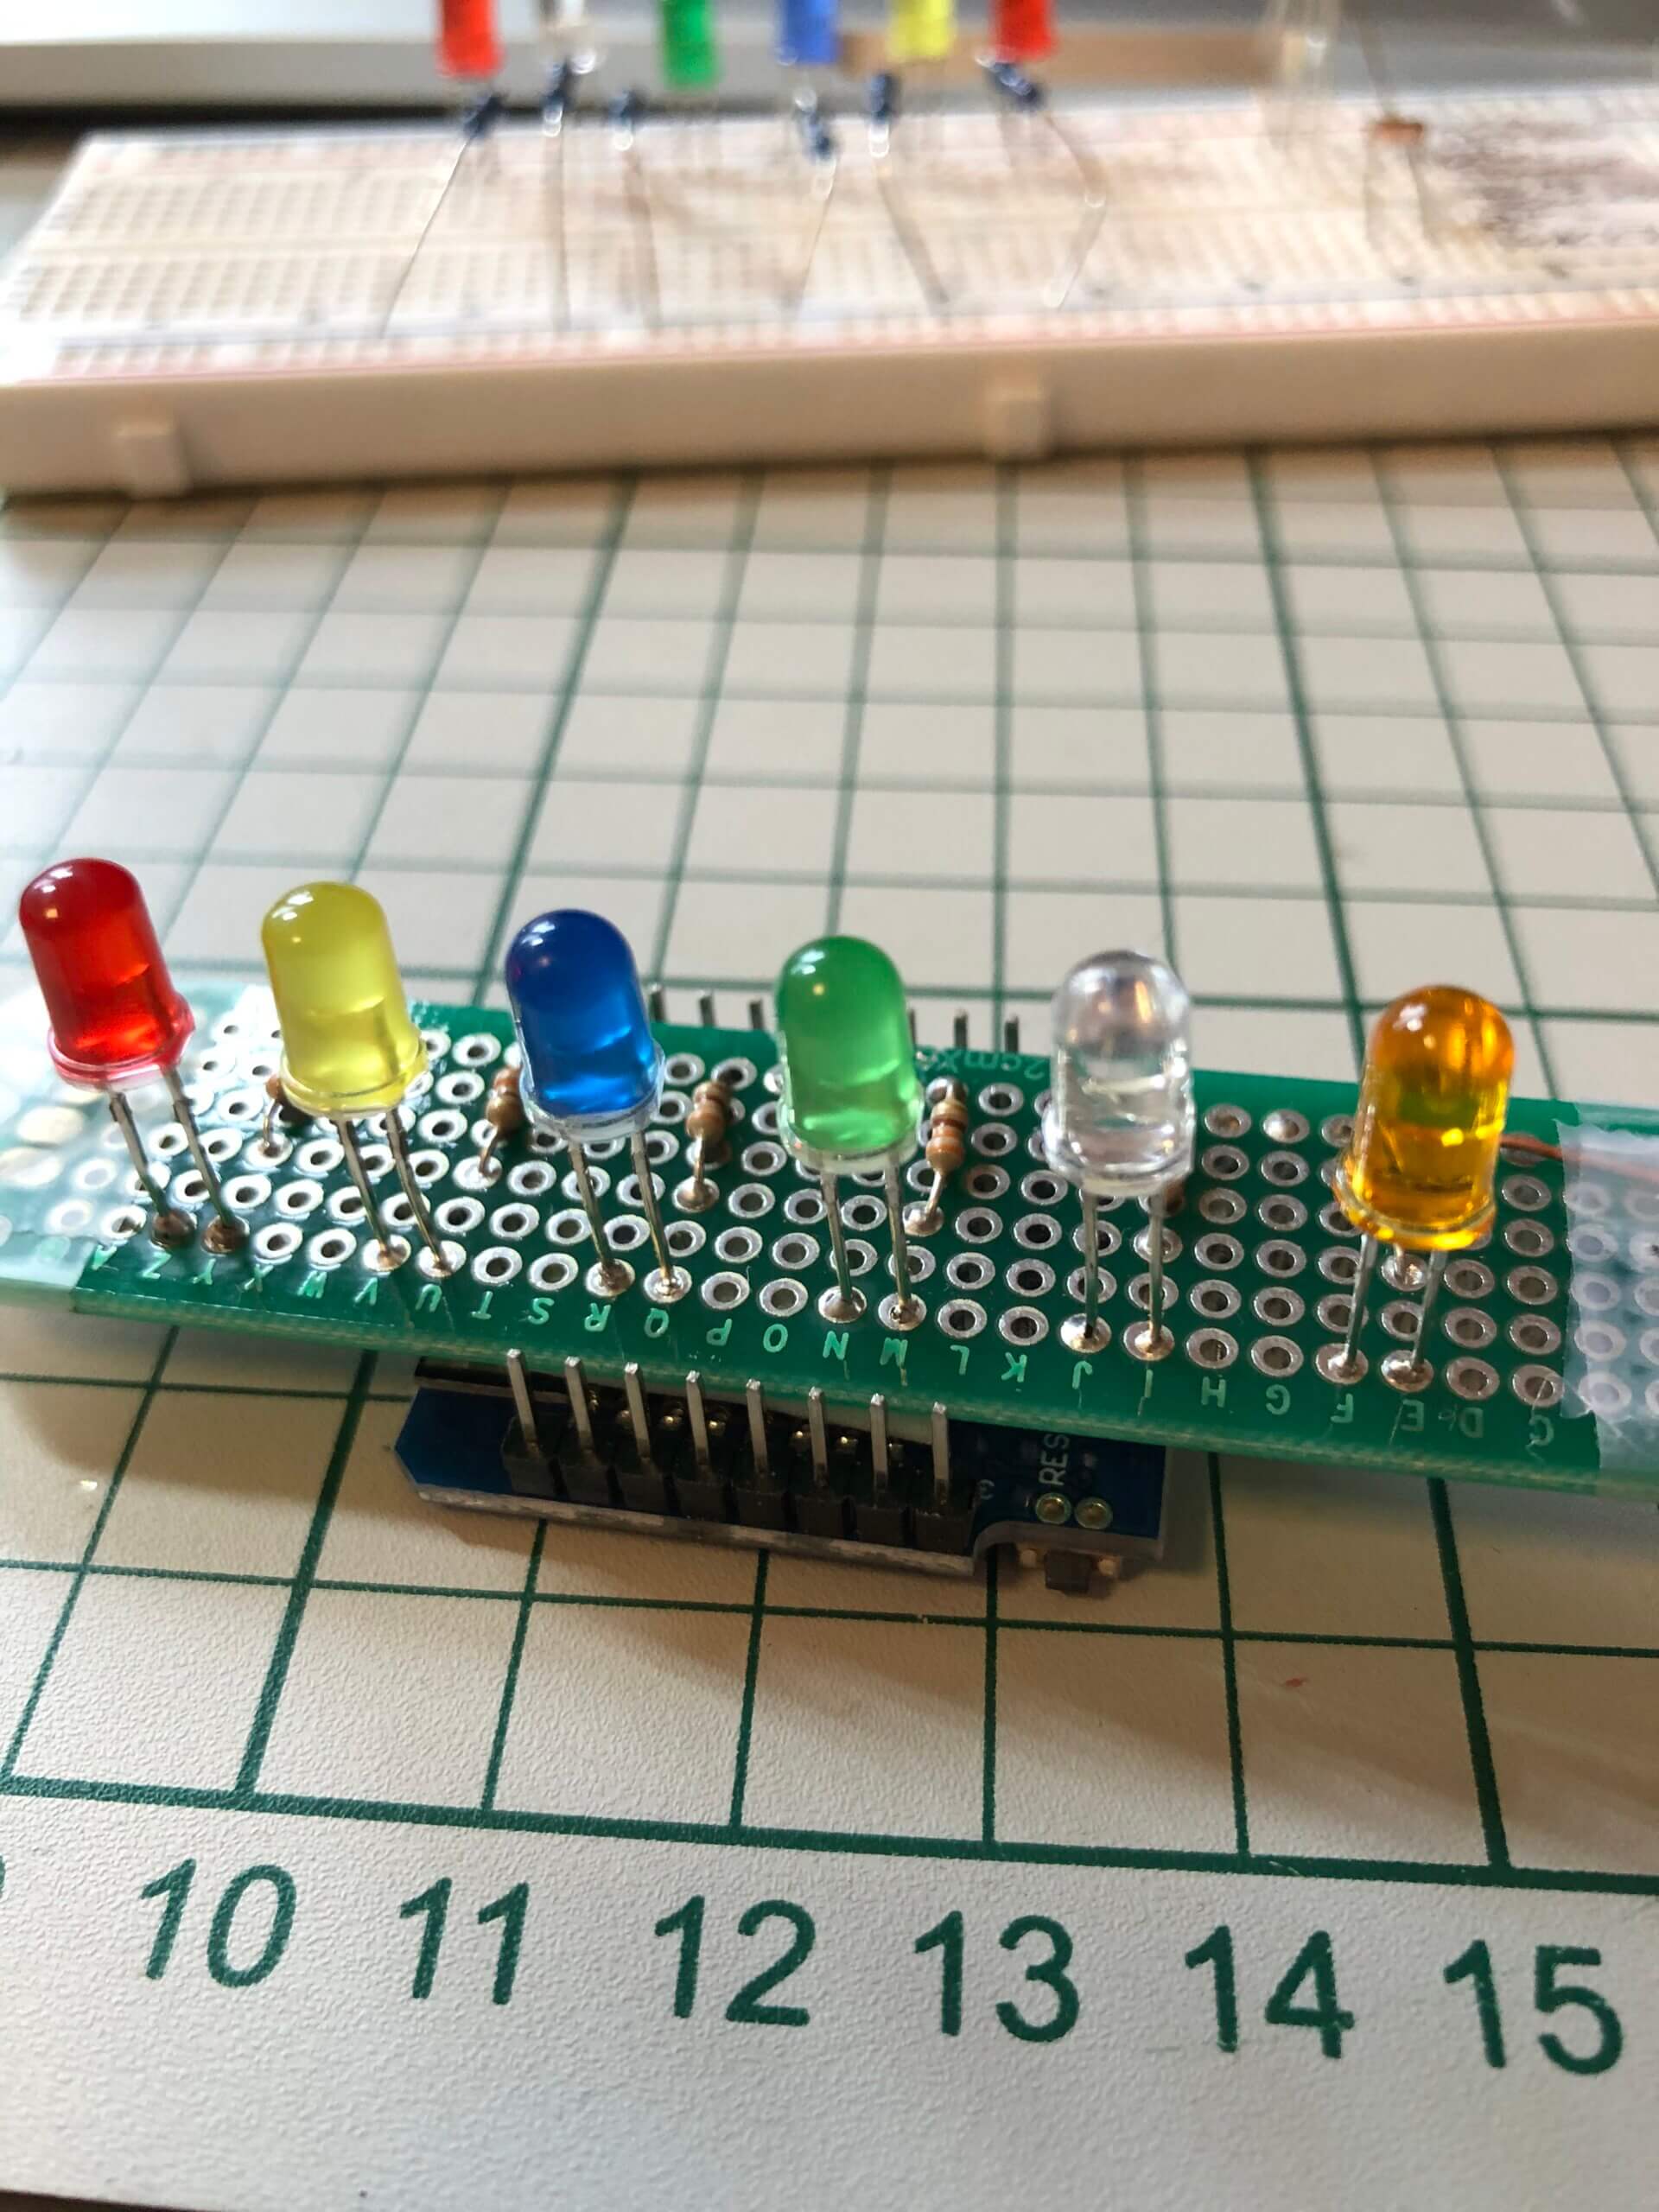
- It then lights up LEDs to represent various conditions like rain, hail, clear skies, hail, thunderstorms, etc.

What were your biggest struggles as you worked through this project?
Get it running as it was described in the original documentation and Json versions in Arduino IDE were frustrating.
Looking back on this project, what can you say you have learned about programming and/or electronics through the creation process?
As stated in the lessons at PEA, think about the project as a whole, and write down a plan on how it should work.
Was the training at Programming Electronics Academy able to help you build your skill?
Yes, I am now more confident doing little programs on my own. I have a better understanding of structure of programs, how functions are programmed, and how they work.
Do you have future plans for your Arduino weather indicator project?
The project is still under way…
Single LEDs are fine but kind of boring. So I tested a Neopixel ring with static color (nice but could be better!) So my final dream is for cloudy weather to make a slowly changing color, fading in and out from light grey to grey, for thunderstorm some flashing.
About Gerolf:

Gerolf was a metallurgical casthouse engineer for much of his career. Now he is “retired” and selling e-bikes and loving it! He has been an electronics hobbyist since his teenage years. He started programming with Fortran, later Basic, Visual Basic, Python, and now with Arduino. His other hobbies also include biking and photography.


Great idea and well executed. You could add an LCD display with text description too although the simplicity is good too.
Robert, thank you for your comment. As stated phase 2 of the project is still under construction. I made a second version with a Neo-Pixel ring as indicator and an OLED display (for testing only) and I want to incorporate some color animations.
Thank for sharing the useful project. It would be better to share the project method as a link because beginner needs more detail of learning.
Regard
Cool project. I don’t see the code. Was it included?
It’s amazing what you can do with some knowledge of programming and Arduinos and some imagination
Fantastic Gerolf – I too have started to learn how to programme thanks to Programming Electronics. I’ll be posting my first project soon!
Interesting concept but couldn’t find how it was done – no code etc.