10 Ways to Destroy an Arduino
Did you destroy an Arduino board?
When things don’t seem to be working in an electronics project, it can be easy to start wondering if somehow you fried your Arduino board.
It’s not a fun feeling.
When you’re new to Arduino and it’s associated electronics, you may not know all it’s limits.
What might seem like a benign thing could be very bad for your board, likewise, you may be worried about nothing, when the issue is your code (more often than not the case).
These videos cover 10 ways you can legitimately damage or destroy an Arduino board. These methods are based on an Arduino UNO R3, but much of it will generalize to other Arduino boards and/or clones.
- Mistake #1: Shorting I/O Pins to Ground
- Mistake #2: Shorting I/O Pins to Each Other
- Mistake #3: Apply Overvoltage to I/O Pins
- Mistake #4: Apply External Vin Power Backwards
- Mistake #5: Apply >5V to the 5V Connector Pin
- Mistake #6: Applying >3.3V to the 3.3V Connector Pin
- Mistake #7: Shorting Vin to GND (when powering with the DC power jack)
- Mistake #8: Applying 5V External Power with a Load on Vin
- Mistake #9: Applying >13V to the Reset Pin
- Mistake #10: Exceeding the Total Microcontroller Current of 200mA
My sincere hope is that once you get familiar with these limits, you’ll learn to avoid them, and keep your Arduino boards running shipshape.
Programming Electronics Academy members, check out the Powering Projects Course to dive into the circuit details of powering an Arduino.
Not a member yet? Sign up here.
You’ll also learn about an Arduino UNO derivate designed to protect against each potential mishap.
Everything has limits
If you try to drive a semi-trailer full of gold bars over a tiny bridge, you could exceed the weight limit of the bridge, destroying the bridge and probably screwing up the semi-truck too.
Or, if you drive a car at 100mph and then try to stop it within ten feet of a brick wall – you’re probably going get all smashed up – and it’s not the car’s fault – there are certain limits the vehicle must be operated within.
The Arduino is no different. It has limits that it must be operated within. If you exceed those limits expect that you will damage or destroy an Arduino board.


If you know the limits – if you’re equipped with this knowledge – then you’ll be able to protect yourself from making the mistakes that might lead to destruction.
Rugged Circuits: How Not to Destroy an Arduino
All of the material in these video is based on a really great article written by a company named Rugged Circuits about how to destroy an Arduino.
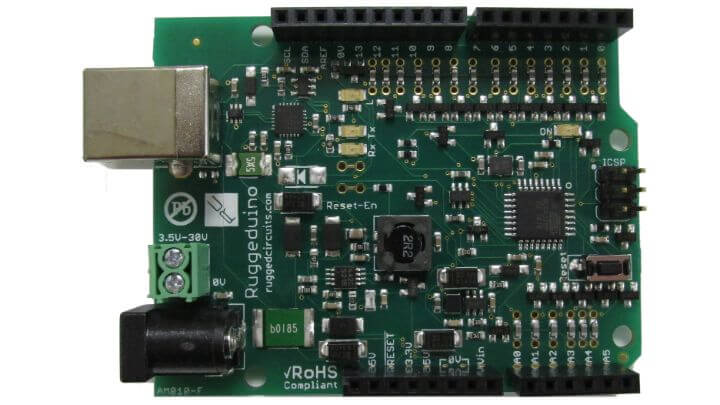
Rugged Circuits is US based. They manufacture and sell an Arduino Uno derivative board called the “Ruggeduino”.


I never knew about Mistake #1: Shorting I/O Pins to Ground but thank you so much for excellent for saftey Arduino sake!
You bet – glad you found it useful Brian, thanks for commenting!
[…] Do you destroy an Arduino? Learn about 5 ways you may have damaged your Arduino board (so you don't do it again!) […]
[…] 5 Ways to Destroy an Arduino […]
What happen if i connect 2 io pins but first pin are set as input but the other are set on output . Does it still do the same thing ?? By same thing i meant burn the board …???